Building custom forms
Building a custom form looks like building a node, but it is a lot simpler! Let's have a look at structure image.

After creating a custom form, you add some question. The questions are the CustomFormField type.
The answer is saved in two entities:
- in CustomFormAnswer
- in CustomFormFieldAttribute
The CustomFormAnswer will store the IP and the submitted time. While question answer will be in CustomFormFieldAttribute with the CustomFormAnswer id and the CustomFormField id.
Exposing a custom form in your API
Custom-form can be filled in a headless context, using _definition and _post endpoints:
GET {{baseUrl}}/api/custom_forms/:id/definitionCustom form definition is a JSON form schema meant to give your frontend application a recipe to build a HTML form:
{
"title": "",
"type": "object",
"properties": {
"subject": {
"type": "string",
"title": "Subject",
"attr": {
"data-group": null,
"placeholder": null
},
"description": "Est aut quas eum error architecto.",
"propertyOrder": 1
},
"email": {
"type": "string",
"title": "Email",
"attr": {
"data-group": null,
"placeholder": null
},
"description": "Email address",
"widget": "email",
"propertyOrder": 2
},
"test": {
"title": "TEST",
"type": "object",
"properties": {
"message": {
"type": "string",
"title": "Message",
"attr": {
"data-group": "TEST",
"placeholder": null
},
"widget": "textarea",
"propertyOrder": 1
},
"fichier": {
"type": "string",
"title": "File",
"attr": {
"data-group": "TEST",
"placeholder": null
},
"widget": "file",
"propertyOrder": 2
}
},
"required": [
"fichier"
],
"attr": {
"data-group-wrapper": "test"
},
"propertyOrder": 3
}
},
"required": [
"subject",
"email",
"test"
]
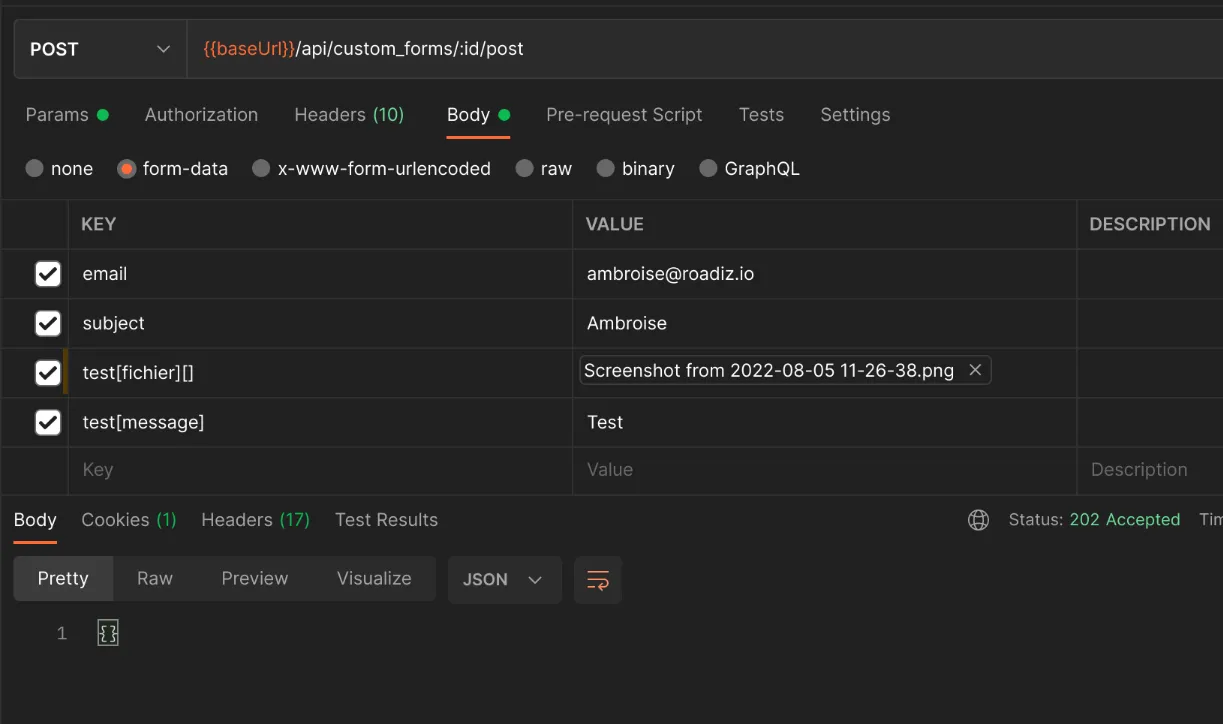
}Then you can send your data to the post endpoint using FormData and respecting field hierarchy:
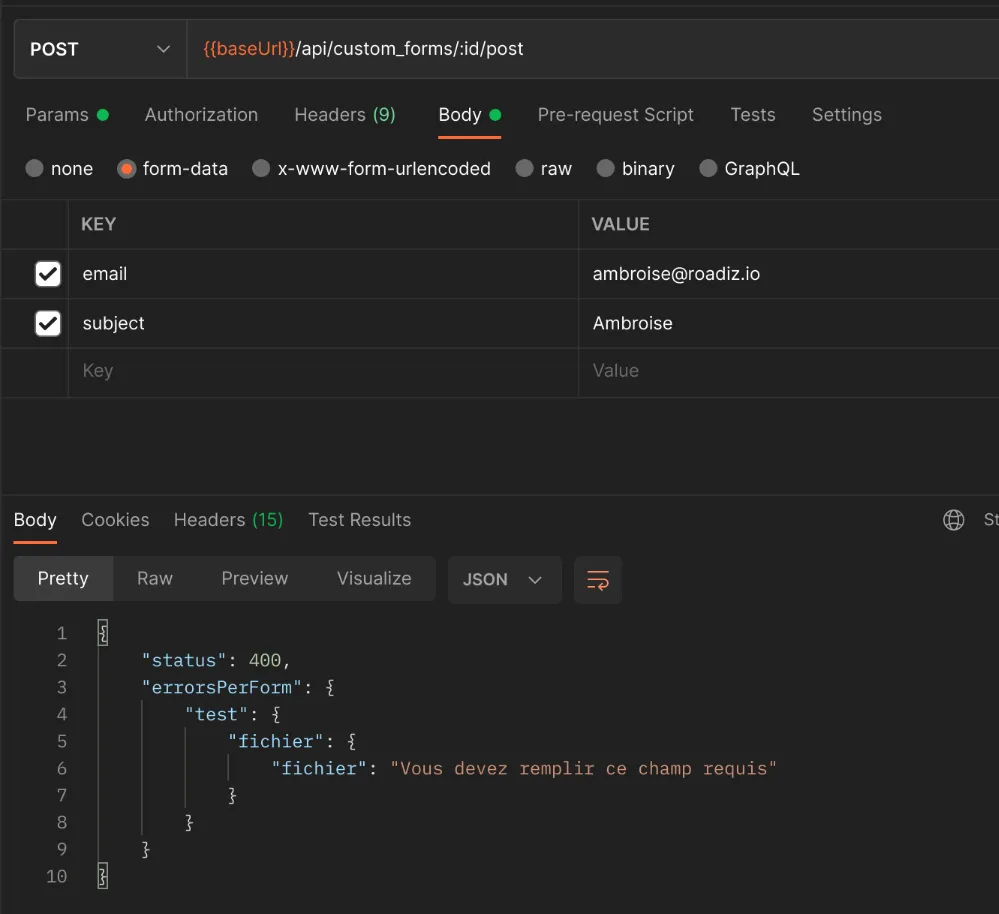
POST {{baseUrl}}/api/custom_forms/:id/postIf there are any error, a JSON response will give you details fields-by-fields.
If post is successful, API will respond an empty 202 Accepted response
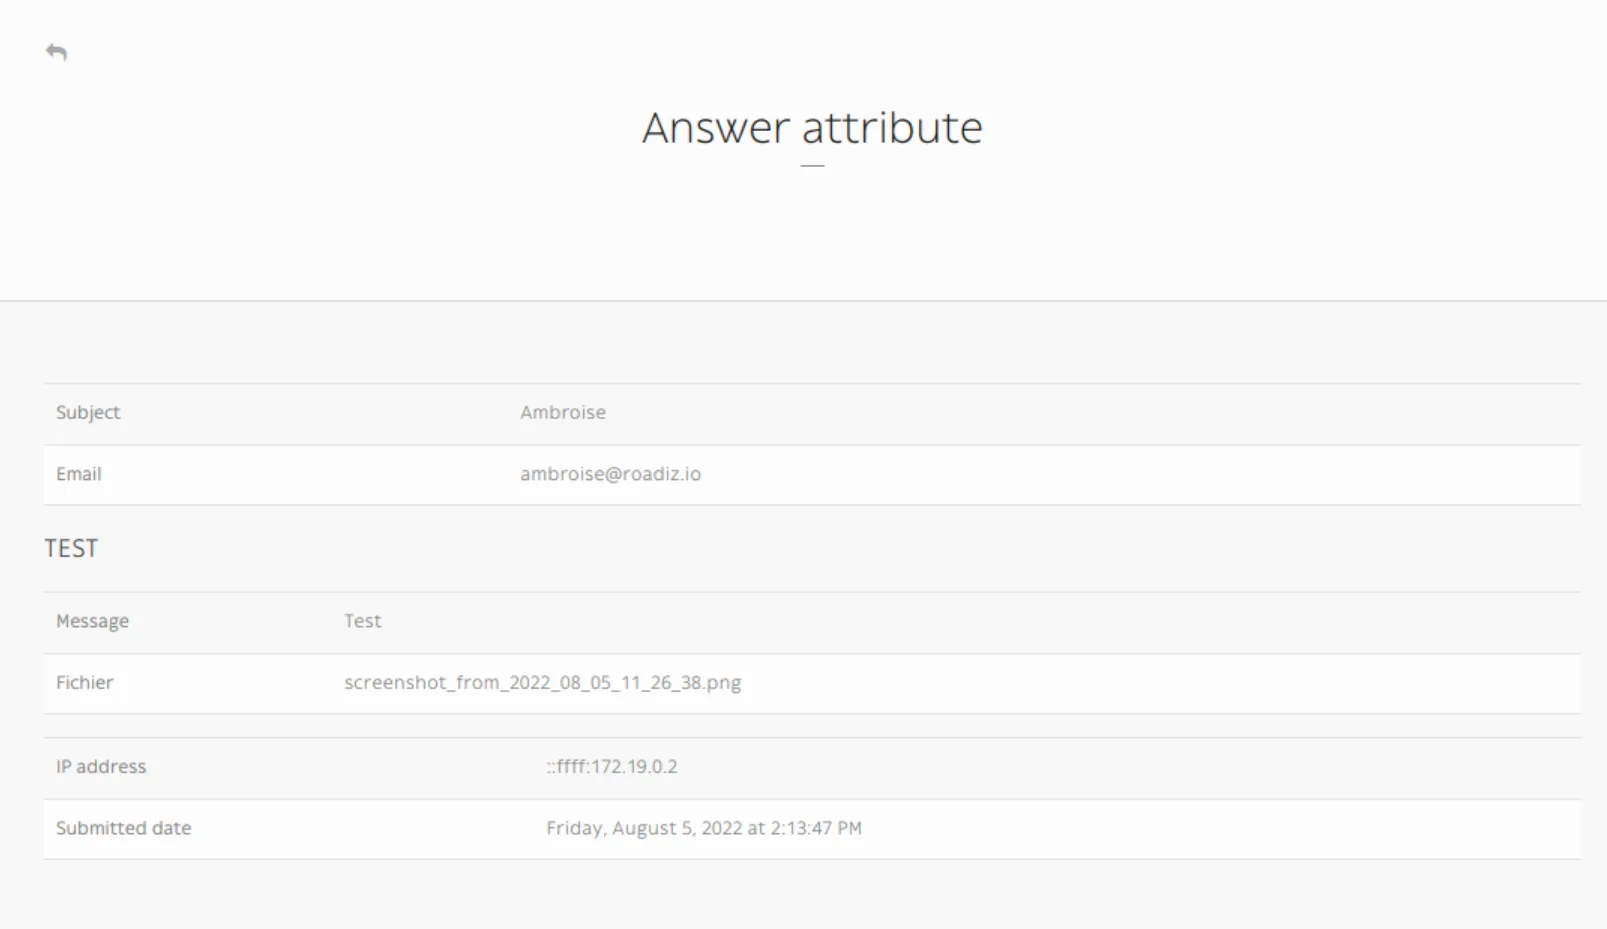
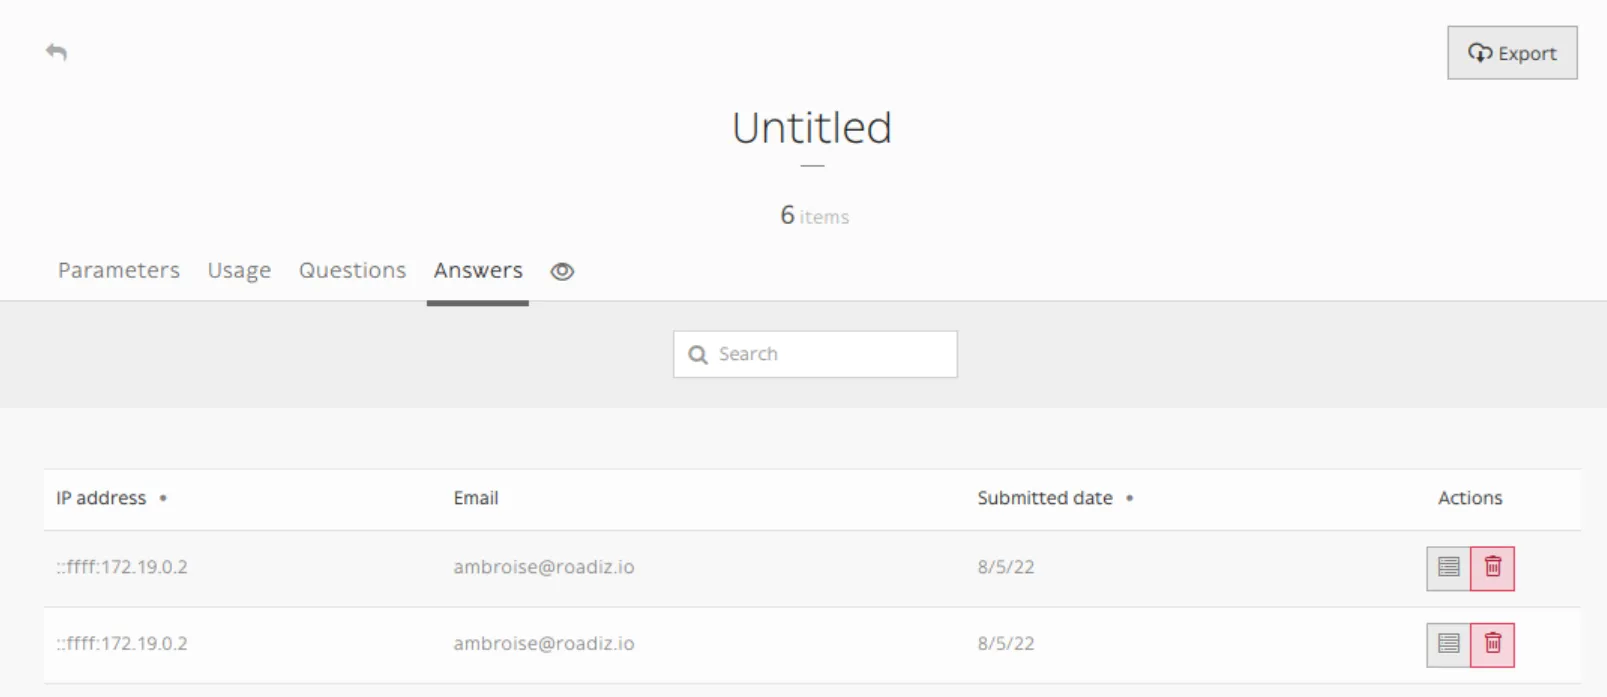
Then you will be able to see all your form submissions in the Roadiz back office:

In Manage custom forms section / Answers
TIP
Any file attached to your custom-form answers will be uploaded as private documents.