Managing users
This is a simple guide on how to create and manage users using Roadiz CLI.
There are two ways of adding users, via the back-office and in command-line, both will be displayed in each section.
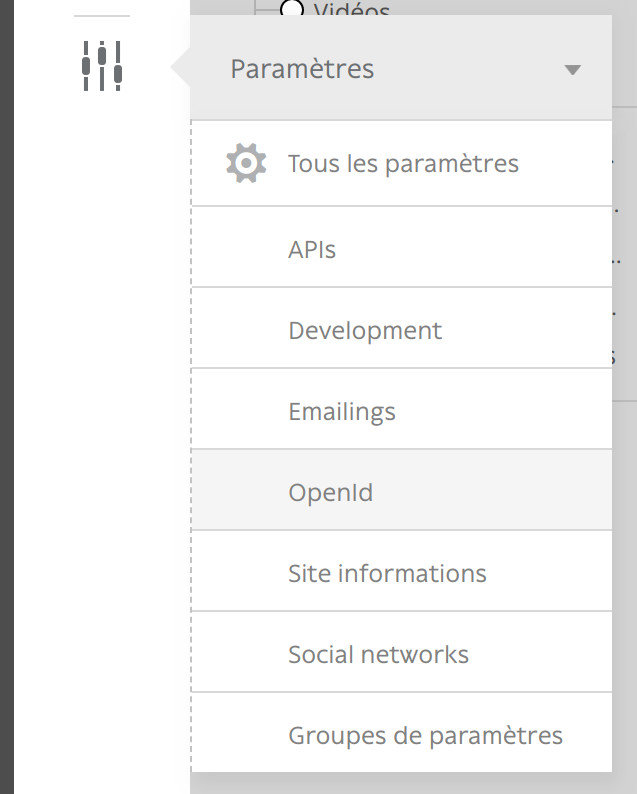
When working with Roadiz in the back-office, you can easily manage users via the User system icon in the toolbar.

Create a new user
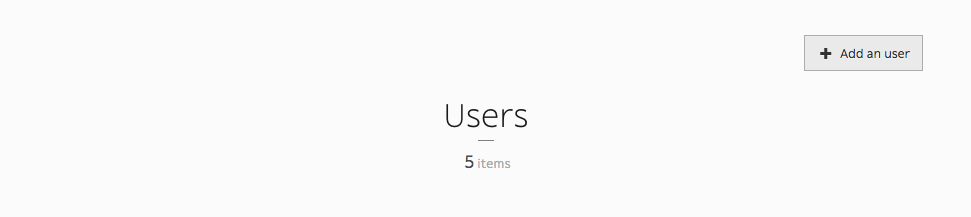
You can add users simply by clicking Add an user button.
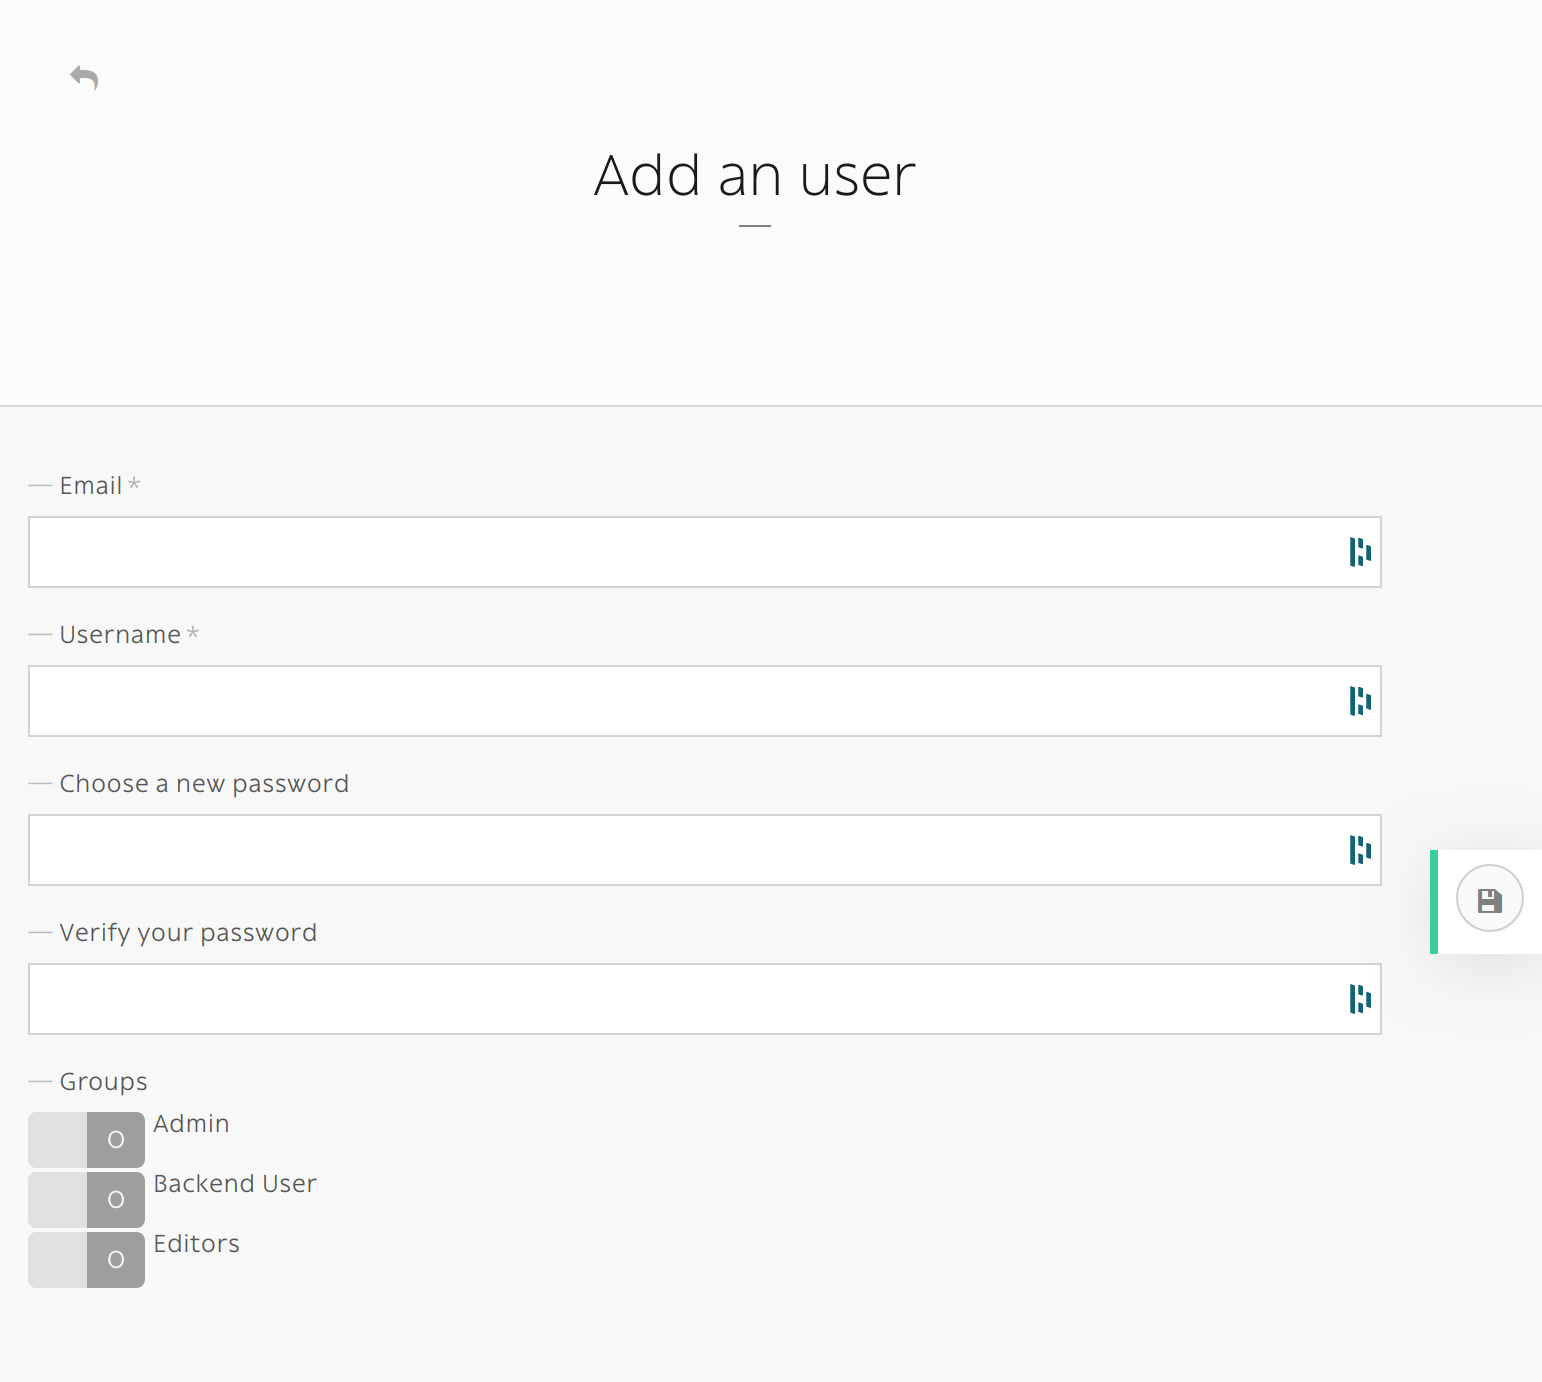
If you create an user without specifying its password, an email with a password reset link will sent. Make sure that you entered the right email and that your Roadiz website has a mailer configured. New user will be locked unless he or she resets its password first.

A new user without password will stay locked until he or she resets its password.
The command-line bin/roadiz users:create loginname starts a new interactive user creation session.
You will create a new user with login and email, you can also choose if it’s a backend user and if it’s a superadmin.
Delete user
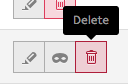
You can remove users by clicking the trashcan icon.
The command bin/roadiz users:delete loginname delete the user “loginname”.
Adding role
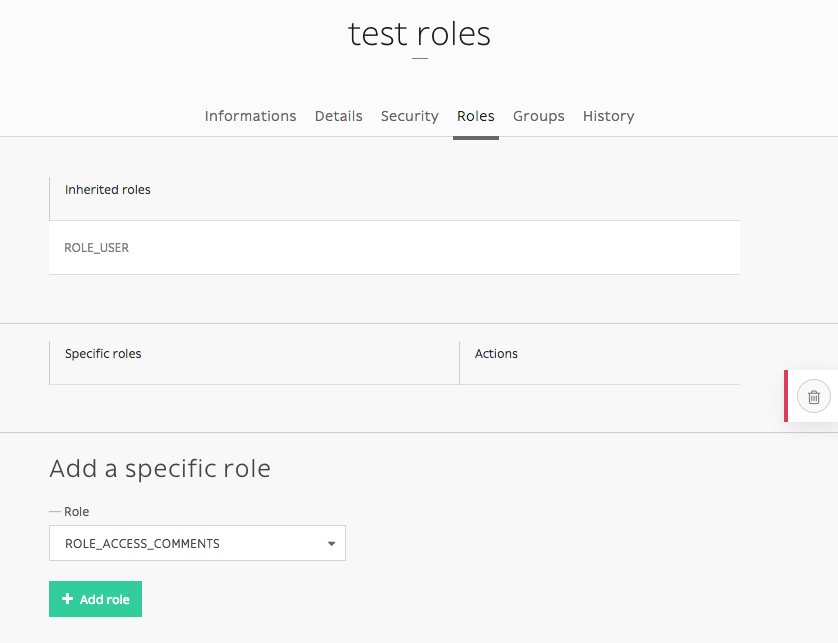
You can edit a users profile the same way you edit a node-type. You can add roles in the Roles tab.
If you want to add ROLE_SUPERADMIN role to “test” user, it would look like this in command-line:
bin/roadiz users:roles --add loginname
# You will be prompted to choose the ROLE with auto-complete feature.
Other action
It is possible to enable or disable users with users:enable or users:disable command.
If a user doesn’t remember his password, you can regenerate it with the users:password command.
For more informations and more actions, we invite you to check available commands with:
bin/roadiz list users
Enable SSO for back-office users
Roadiz is compatible with any OpenID single sign-on system (such as Google, Exchange, …) and can
be configured to allow your company users to login to your back-office with several ROLES.
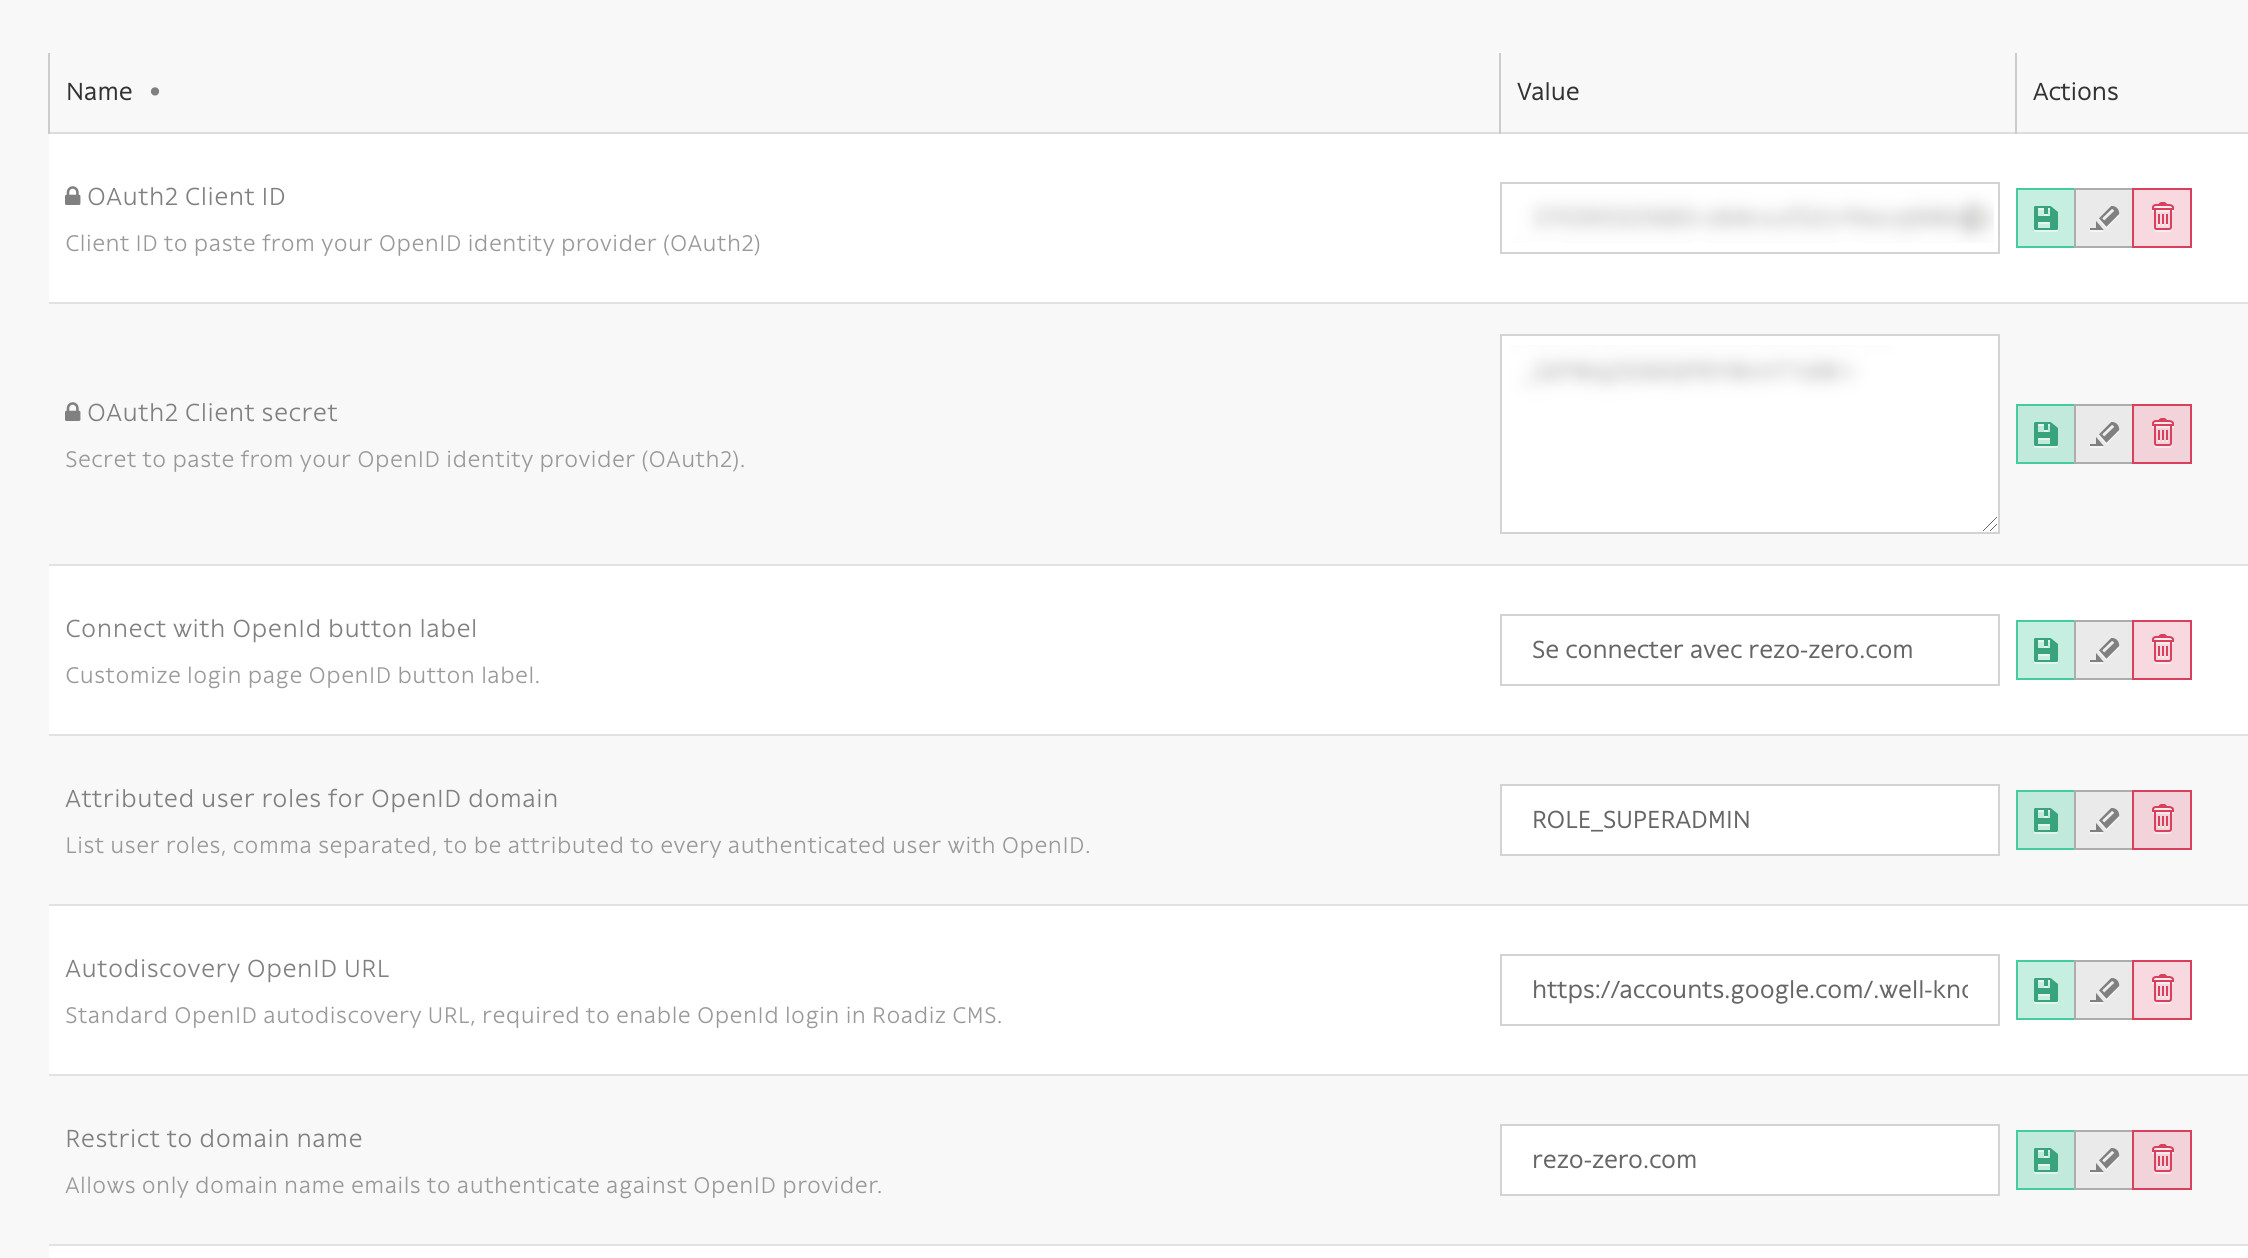
First, make sure to generate and gather the following information from your OpenID provider:
- OpenID client ID
- OpenID client secret
- OpenID auto-discovery URL (i.e. for Google GSuite user https://accounts.google.com/.well-known/openid-configuration)
Then you should decide:
- What roles (comma separated) you want to be automatically granted to users connected with your SSO. You always can create a more complex strategy in your website by registering a
RZ\Roadiz\OpenId\Authentication\Provider\JwtRoleStrategy.
$container->extend('jwtRoleStrategies', function (array $strategies, Container $c) {
    return array_merge($strategies, [
        new MyWebsiteRoleStrategy($c['em'])
    ]);
});
- What domain name to restrict users from. This is very important for Google Suite users because the auto-discovery is the same for everybody. You may not want to allow every Google Suite users to access your back-office 😉.
- A button label for your back-office login page.
Fill all your gathered information to the right Roadiz settings.
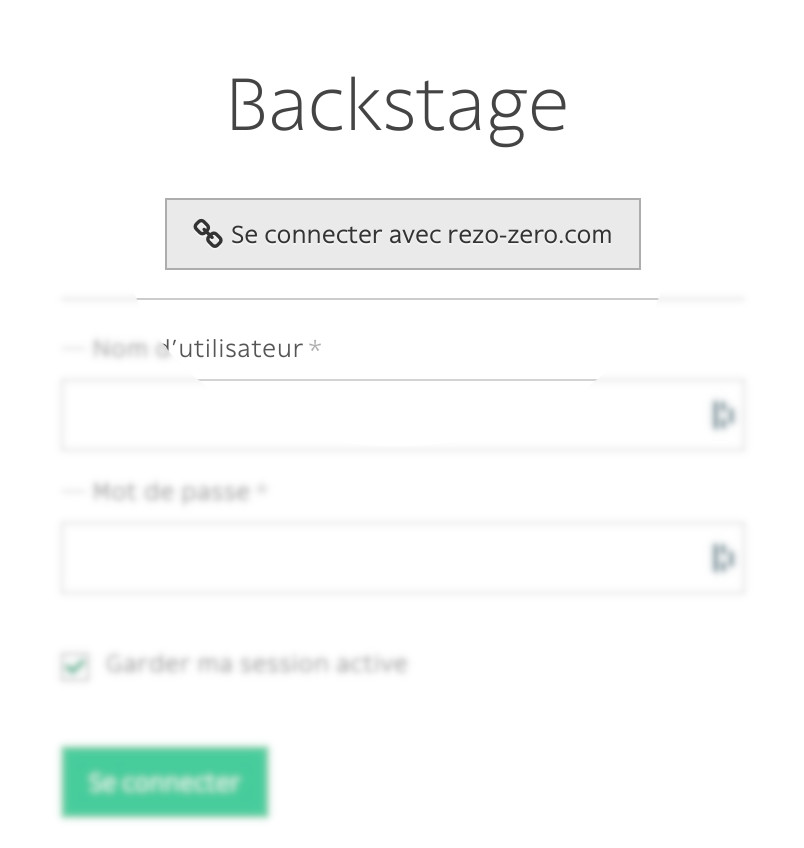
Then, if your parameter are correct you should see your SSO connect button on Roadiz back-office login page. Pay attention that if your SSO users do not have sufficient permissions they may have a 403 error after being redirected from SSO flow.
Note
Google Suite OpenID implementation is described at https://developers.google.com/identity/protocols/oauth2/openid-connect#discovery
First, create a new OAuth2 application on https://console.cloud.google.com/ and follow instructions at https://developers.google.com/identity/protocols/oauth2/openid-connect#getcredentials