Managing node-types
This is a simple guide on how to create and manage nodes using Roadiz CLI, add and remove node fields, or even how to import nodes.
First and foremost, you need to create a new node-type before creating any kind of node.
If you want to know more about what a node-type is, please visit the other section of the developer documentation.
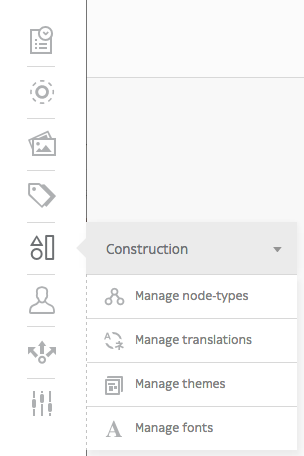
When working with Roadiz in the back-office, you can easily manage node-types via the Construction icon in the toolbar.
Add node-type
Once you have landed on the Node-Types page (https://mywebsite.com/rz-admin/node-types), you can create node-types by clicking on Add a node-type.
Note
You can export and import a node-type if you have a .json file. See Other action for more information.

Upon filling the two mandatory settings Name (that developers will use) and Display Name (that back-office users will see), you are now ready to create your first node type.
Warning
Be careful when you name your node-type though, Name field can’t be changed once the node-type is created. See Delete node-type section to know how to delete a node-type.
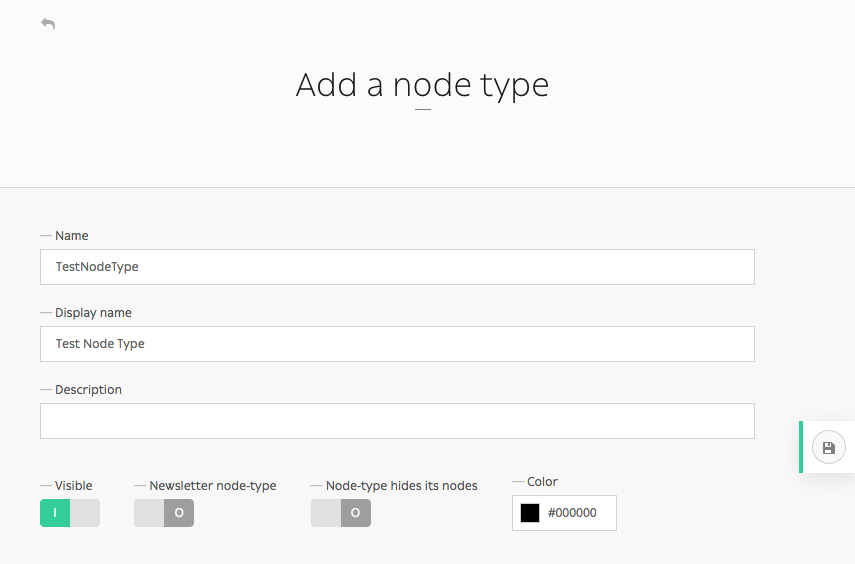
Other options (Visible, Newsletter node-type, Node-type hides its nodes and customizable color) aren’t required and can always be altered later on.
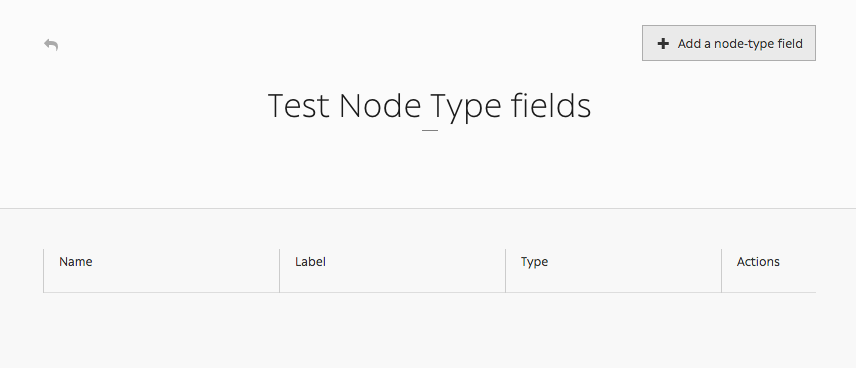
You have now created your first node-type! It now appears on the node-type page along other node-types and you can now manage its fields.

Delete node-type
Made a typo when creating a node-type? No longer in need of a node-type ? You can delete it by simply clicking the trashcan icon on the Node Types page (https://mywebsite.com/rz-admin/node-types).

Adding node-type field
To add fields to your newly-created node-type, click the Manage node-type fields icon.

Then click on ‘Add a node-type field’ button.
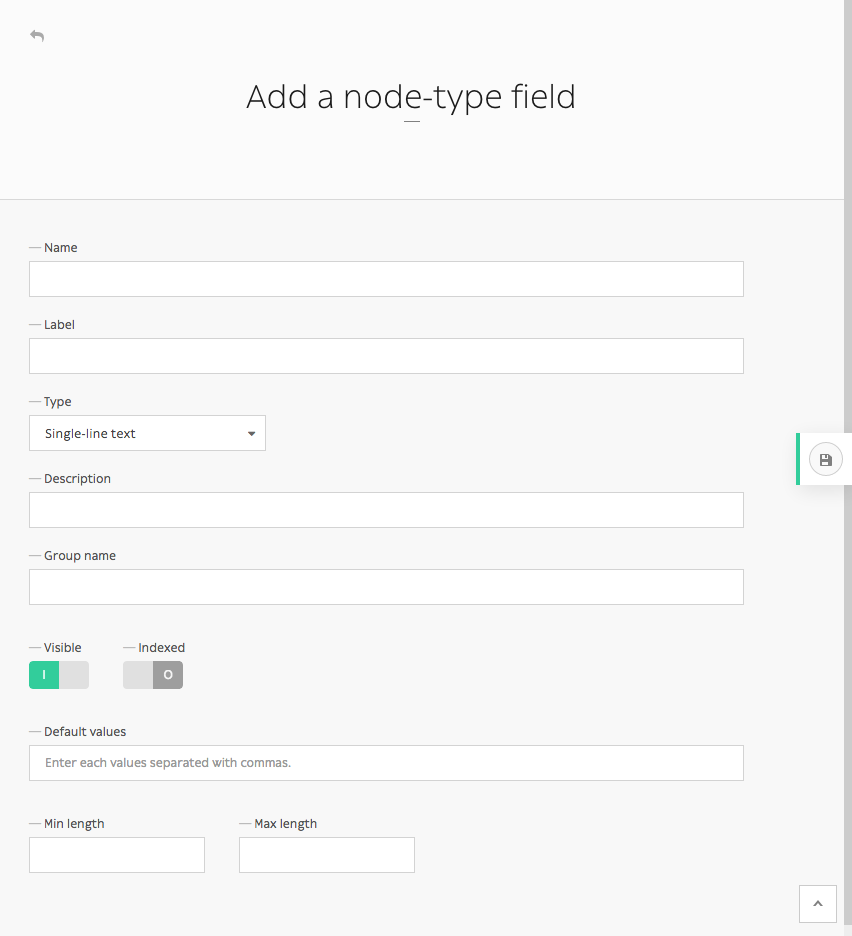
Fill in the form to create a new field :
- Name: what developers will use
- Label: what back-office users will see
- Type: single choice option that will define the content (basic text, markdown text, documents, email, number, single or multiple choice, children nodes etc.)
- Description, Group name, Visible, Indexed, Default values, Min length, Max length (optional)
Note
Default values is an interesting field as you can specify what kind of node-types that can be linked to this node-type. You can also use it as a filter in the explorer, and only show those default values.
Other actions
From one website to another, you can export node-types as .json files.

An .json file should look like this when you open it in any editor:
{
    "name": "Page",
    "displayName": "Page",
    "visible": true,
    "publishable": false,
    "reachable": true,
    "newsletterType": false,
    "hidingNodes": false,
    "color": "#000000",
    "fields": [
        {
            "position": 1.0,
            "name": "content",
            "label": "Content",
            "type": 4,
            "expanded": false,
            "nodeTypeName": "Page",
            "universal": false,
            "indexed": false,
            "visible": true
        },
        {
            "position": 2.0,
            "name": "children",
            "label": "N\u0153uds enfants",
            "type": 16,
            "expanded": false,
            "nodeTypeName": "Page",
            "universal": false,
            "indexed": false,
            "visible": true
        },
        {
            "position": 3.0,
            "name": "header_image",
            "label": "Header image",
            "type": 9,
            "expanded": false,
            "nodeTypeName": "Page",
            "universal": false,
            "indexed": false,
            "visible": true
        },
        {
            "position": 4.0,
            "name": "pictures",
            "label": "Pictures",
            "type": 9,
            "expanded": false,
            "nodeTypeName": "Page",
            "universal": false,
            "indexed": false,
            "visible": true
        }
    ],
    "defaultTtl": 0
}
Notice the four fields that have been added to this Page node-type.
You can write an .json file yourself if you feel like it, but it is probably easier to simply export node-types from existing website, then import it on your new website. It can be easily done by clicking on Import node-type button, then selecting it via your explorer.

You are close to fully master Roadiz back-office powers! Keep referring to this documentation if you have any problem, and let us know if any information goes missing.